Free Pattern: Corgi Wall Art

Corgi Love Knitted Picture
Corgi Love Wall Art

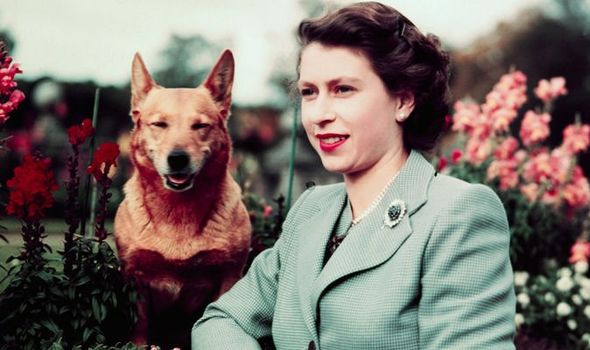
A while ago I knitted this corgi love wall art, along with another few random creations. At the time I had sketched an alternative option for this one, featuring the Queen’s jewels instead of a heart. Follow the free pattern below and make your very own corgi wall art!

Inspirational Moodboard

Materials

  • Pair of 4mm (US 6) straight knitting needles
  • DK yarn in green, rust, blue, yellow, black & white (I used King Cole Merino Blend DK)
  • Tapestry needle
  • 4′ x 6’ photo frame (10x15cm)
  • All-purpose glue
  • Scissors

Tension

39 stitches and 29 rows to 15x10cm rectangle in stocking stitch on 4mm (US size 6) needles.

INSTRUCTIONS

  1. Cast on 39 stitches using green yarn and 4mm needles.
  2. Starting from the bottom of the chart, knit in stocking stitch (knit one row, purl one row, repeat the last 2 rows) using the Intarsia technique. You might want to use the Fairisle technique to knit the ‘v’ pattern in the top half of the chart.
    • You will need a separate ball/strand of yarn for each colour change in the chart (except ‘v’). To switch colour, twist the yarns at the back of your work to keep it together and prevent holes.
  3. Once you have worked all 29 rows, cast off and weave in the ends (roughly – nobody’s going to see the back!).
  4. Block your work.
  5. Glue your knitted piece to the backing board of your frame.
Corgi Wall Art Knitting Chart
Corgi Love Wall Art

New Pattern: Animal Patchwork Blanket

(AKA The slowest project ever) I started this blanket a few years ago as a side project and would only knit when on holiday, hence why it took me months to finish it. And it’s taken me even longer to write up the pattern, but it’s finally here!

I initially created this blanket for Lindsay‘s little girl, Matilda. The whole time I was making it I thought ‘by the time I’m done she will be too big for it’, but luckily (I’m a lazy knitter and don’t really measure my work from the start) it ended up being quite big for a baby blanket – it’s around 70x84cm.

Blanket6.png

Lindsay is the talented maker behind Em&Sprout and is one of the reasons why I started knitting squares in the first place. Remember the 30 animal squares I knitted back in 2014? I created them as part of her #animaldoodleaday challenge on Instagram! I then used the squares to make my first ever patchwork blanket and wrote up the pattern for all 30 squares – you can find it here. The response to this pattern has been incredible and worth the effort!

When Lindsay asked me to make one of these blankets for her little girl, I knew I wanted to try something a little different and improve my design skills, plus the initial blanket was a bit small anyway. So I mixed it up and alternated animal squares animals in Intarsia, with plain seed stitch squares (my fave stitch). I redesigned some of my original animal squares, and added a couple of new animals: an aplaca and a panda (don’t think I need to justify why I chose these cuties).

Blanket15.png

To join the squares together, I decided to give crochet a try and I instantly fell in love! It gives the blanket such a pretty finish. So I went on and made a crochet border too. Finally I stitched on a fleece backing and I was done!

Years later, the pattern for the animal patchwork blanket is finally available! It includes the instructions, a stitch library and individual animal charts. It’s a very complete pattern and ideal if you’re looking to learn new (and easy) finishing techniques. I really hope you love this patternBlanket11.png and I can’t wait to see your creations!

Buy The Animal Patchwork Blanket Pattern on: ETSY | RAVELRY


Knit a Dapper Bow Tie

Bow tie knitting pattern by Julie And The Knits

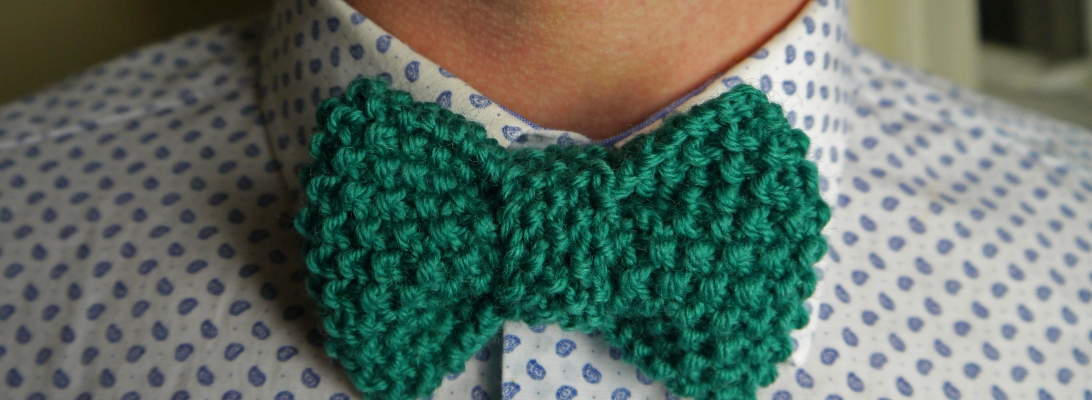
New pattern ALERT! I’ve just listed my Dapper Bow Tie knitting pattern on Etsy, Craftsy and Ravelry! I first designed it for Britain Does Vintage Festival in Newcastle (I blogged about the event here and here) – if you love vintage/retro fashion, you must try this pattern!

Bow tie knitting pattern by Julie And The Knits

As with most of my projects, this bow tie is super quick and easy to make. It is knitted using the seed stitch aka my favourite stitch and made of 3 pieces put together.

The best thing about it? You can knit and personalise the pattern time and time again – colour, stitch, motif – the possibilities are endless. Make it for your gal pal, your bf, your little nephew or even your dog :)

I hope you enjoy this pattern and I can’t wait to see your pics – share them on Facebook, Twitter and Instagram and use #julieandtheknits!

Bow tie knitting pattern by Julie And The Knits Bow tie knitting pattern by Julie And The Knits Dapper Dog BowK Knitted Tie

Get the pattern now!

Click here for more cute & colourful patterns. If you have any questions, just let me know :)

Baby Sailor Dress

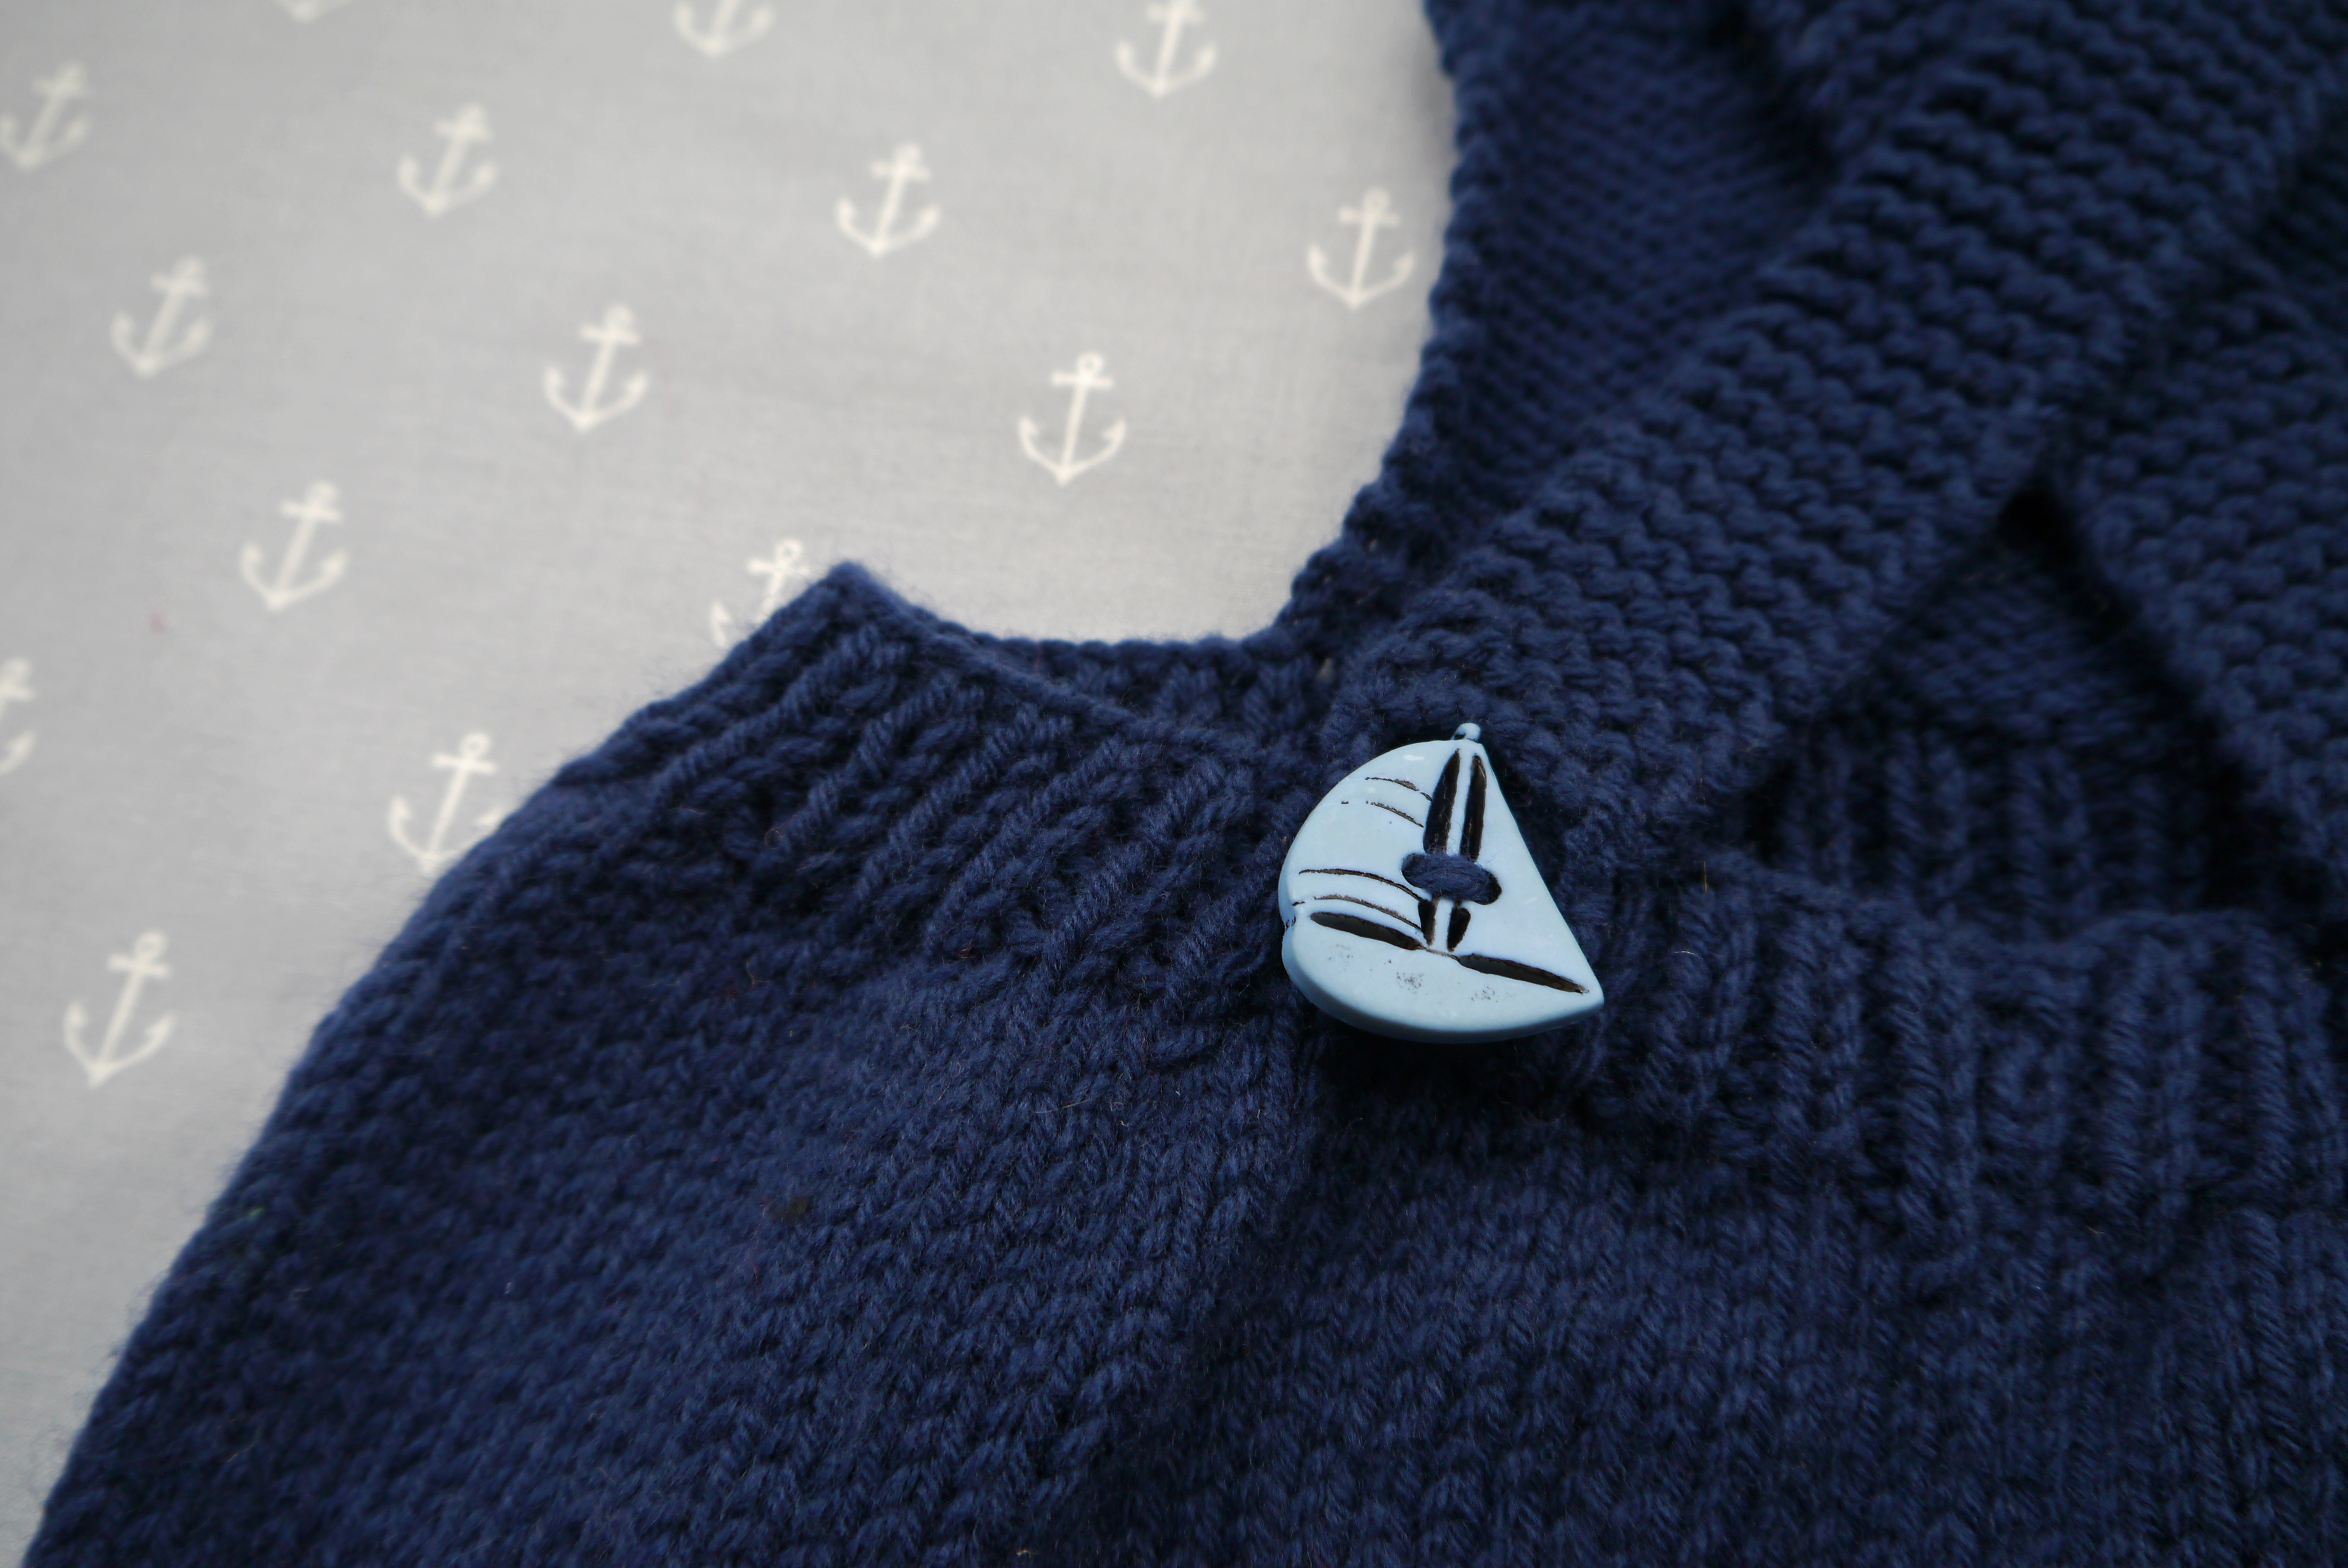
Close up Anchors Baby Dress

Processed with VSCOcam with c1 preset

Sometimes I force myself out of my ‘knitting comfort zone’ and try to knit something a little bit harder than cute bows so I can learn new techniques. This often leads to a lot of frustration and the result is not always satisfying,  but sometimes it turns out to be a lot easier than I initially thought.

Original photo

When I picked up my needles again a few years ago, I was given a huge folder of Creative Knitting patterns from the 80s which mostly featured – no surprise here – oversized jumpers). As a beginner at the time, the idea of trying to follow any of these patterns just terrified me! So the folder had been gathering dust in my knitting room ever since until a few months ago when, while tidying up my room, I flicked through the pages and came across this cute pinafore dress. I loved the style and decided to give it a go!

I wasn’t a big fan of the motif and, in order to make this dress a ‘Julie’ dress (as my friend Shivani would say), I went for a nautical theme instead and also changed the top design. I charted some anchors, looked for cute buttons in my stash, ordered some lovely yarn and I was ready to go!

I would have linked to the original pattern but I couldn’t find it online. So I have typed it below and included my tweaks . If you’re a beginner yourself when it comes to knitting clothing, do not worry, this is actually super easy.

 Materials
– Pair of 3.25mm (US 3), 4mm (US 6) & 4.5mm (US 7) straight knitting needles
– DK acrylic & nylon yarn in navy, red and white – I used Sirdar Snuggly DK Light Navy (224), Flamenco (242) & White (251)
– Tapestry needle
– Scissors
– 2 buttons

Measurements
To fit chest approx. 46cm
Skirt width 65cm & length 17cm

Tension
22 stitches and 30 rows to 10cm in stocking stitch on 4mm (US size 6) needles.

Abbreviations
K – Knit
P – Purl
P2tog – Purl 2 stitches together
RS – Right Side
WS – Wrong Side

front2

Instructions

Skirt:
– Using 3.25mm needles and navy yarn, cast on 142 stitches.
– Beginning with a Knit row, work 5 rows in stocking stitch.
– K1 row to form the fold line.
– Beginning with a Knit row, work 4 rows in stocking stitch.

Anchor Pattern: Change to 4.5mm needles and work the pattern using the Intarsia technique and stocking stitch – follow the written instructions or the chart (I’m a big fan of charts).
45a4landscape

I know this looks pretty tiny, so you can get the (bigger) PDF chart here.

N=NavyR=RedW=White

ROW 1: K8N, *6R, 11N, 6W, 11N, repeat from * 3 times, K6R, 11N, 6W, 9N.
ROW 2: P7N, *2W, 1N, 2W, 1N, 2W, 9N, 2R, 1N, 2R, 1N, 2R, 9N, repeat from * 3times, P2W, 1N, 2W, 1N, 2W, 9N,
2R, 1N, 2R, 1N, 2R, 7N.
ROW 3: K6N, *2R, 2N, 2R, 2N, 2R, 7N, 2W, 2N, 2W, 2N, 2W, 7N, repeat from * 3 times, K2R, 2N, 2R, 2N, 2R, 7N,
2W, 2N, 2W, 2N, 2W, 7N.
ROW 4: P6N, *4W, 1N, 2W, 1N, 4W, 5N, 4R, 1N, 2R, 1N, 4R, 5N, repeat from * 3 times, P4W, 1N, 2W, 1N, 4W,
5N, 4R, 1N, 2R, 1N, 4R, 5N.
ROW 5: K6N, *1R, 3N, 2R, 3N, 1R, 7N, 1W, 3N, 2W, 3N, 1W, 7N, repeat from * 3 times, K1R, 3N, 2R, 3N, 1R, 7N,
1W, 3N, 2W, 3N, 1W, 7N.
ROW 6: P11N, *2W, 15N, 2R, 15N, repeat from * 3 times, P2W, 15N, 2R, 10N.
ROW 7: K10N, *2R, 15N, 2W, 15N, repeat from * 3 times, K2R, 15N, 2W, 11N.
ROW 8: P8N, *8W, 9N, 8R, 9N, repeat from * 3 times, P8W, 9N, 8R, 7N.
ROW 9: K10N, *2R, 15N, 2W, 15N, repeat from * 3 times, K2R, 15N, 2W, 11N.
ROW 10: P10N, *1W, 2N, 1W, 13N, 1R, 2N, 1R, 13N, repeat from * 3 times, P1W, 2N, 1W, 13N, 1R, 2N, 1R, 9N.
ROW 11: K9N, *1R, 2N, 1R, 13N, 1W, 2N, 1W, 13N, repeat from * 3 times, K1R, 2N, 1R, 13N, 1W, 2N, 1W, 10N.
ROW 12: P11N, *2W, 15N, 2R, 15N, repeat from * 3 times, P2W, 15N, 2R, 10N.

Change to 4mm needles – you will only use navy yarn for the rest of the pattern:
– Beginning with a Knit row, work in stocking stitch until the skirt measures 19cm from cast-on edge, ending with a Knit row.

Decrease:
– P2, *P2tog, P2, repeat from * to the last 4 stitches, P2tog, P2. 107 stitches.

Waistband Change to 3.25mm needles:
– RIB ROW 1: K1, *P1, K1, repeat from * to end.
– RIB ROW 2: P1, *K1, P1, repeat from * to end.
– Repeat these 2 rows for 2.5cm, ending with rib row 2.

Shape for bib:
– Cast off in rib 39 stitches at the beginning of the next 2 rows. 29 stitches.

Change to 4mm needles:
– Knit to end.
– K4, Purl to last 4 stitches, K4.
– Repeat these 2 rows until the bib measure 7.5cm from the beginning of shaping, ending with a RS row.
– Work in seed stitch for the next 4 rows – *K1, P1, repeat from * to end, K1.

Knit the straps (I knitted them in garter but wish I had done in seed stitch to make them even cuter!):
– K7, cast off 15 stitches, K to end.
– K7, turn your work and leave the other set of 7 stitches on a holder.
– Work in garter stitch until the strap measures 23cm.
– Cast off.
– Repeat this with the other strap.

Assembly:
– Join the centre back seam of the skirt.
– Fold the hem to WS along the fold line and slipstitch into place.
– Make a buttons loop at the end of each strap.
– Crossing the straps over at the back, sew on (cute) buttons to the waistband to correspond with button loops.

front top back top back back button back loop anchors

Oh I would love to make an adult size sailor dress. One day maybe!

What do you think of this pattern? If you give it a try, I would love to see your pics so please share them on Instagram, Facebook and Twitter.

And do let me know in the comments what patterns you’d like to see next :)

Click here for more patterns!

Save

Single Animal Square Patterns now available!

Knitted Hippo

Good news! You can now purchase individual patterns of my animal squares! Some of you have been emailing me asking for single patterns from my 30 animal squares pattern over the last few months, so I’m pleased to say it is now possible :) They look great as part of a baby blanket but you can also frame them – they makes a lovely decoration for a child’s bedroom.

You can order the pattern for the animal of your choice exclusively in my Etsy Shop.

pig elephant hedgehog tiger

There are 30 animals to choose from: alligator, bat, bear, bird, cat, chipmunk, deer, dog, duck, elephant, flamingo, frog, hedgehog, hippo, kangaroo, koala, lion, monkey, mouse, narwhal, nessie, penguin, pig, rabbit, raccoon, seal, tiger, unicorn, whale, yeti.

Aren’t they cute? I have a soft spot for the whale, what about you?30 Animal Squares Group

Click here to get your favourite animal square pattern!

Click here for more patterns

Save

Easy Mittens

Mollie Makes Knitted Mittens

Happy New Year everyone! I’m very happy to kick off 2016 with a free pattern – mittens! They’re very cute and very easy to make, the hardest part being picking your yarn colours :)

Simple-mittens-knitting-pattern-final2-Mollie-Makes

You can find this free pattern on molliemakes.com.

If these mittens look familiar, it’s because they first appeared in their e-zine a couple of years ago. Let me know in the comments if you give this pattern a go!

Finished Product

Click here for more patterns!


Save

NEW BOOK: How To Knit by Mollie Makes

How to Knit By Mollie Makes

9781910496077square

The world of knitting can be a little overwhelming if you’re looking to take it up as a hobby. Choosing from a huge amount of patterns, figuring out the weird abbreviations, shopping for the right supplies… where do you start???

Well, if you love cute, quirky and modern knits (if you read this blog, chances are you do), Mollie Makes’ new craft book, How To Knit, is just what you need – read on to find out how you can get your hands on a free copy! The team from Mollie Makes magazine have brought together their favourite knit designers to share their tips, stories and projects – and I feel very privileged to be one of them! All the projects are brand new, including my Christmas tree decorations – you will find instructions to knit all 6 of them.

Mollie Makes How To Knit images8

Mollie Makes: How To Knit also features projects by some of my favourite knitters out there such as Sincerely Louise ( I mean, a burger cat!), Katty Huertas and more!

Mollie Makes How To Knit images2Mollie Makes How To Knit images

You got it. Bright colours, cute stuff and animals. Plus all you need to know, from learning the best way to hold your needles to making your first fair isle project! You can find more details about the book here.

WANT TO WIN A FREE COPY? Leave a comment on this post by 31st October and Mollie Makes: How to Knit could be yours soon! The winner will be picked at random early November.

*This giveaway is now closed. The winner of Mollie Makes: How to Knit, picked at random using the good old method, is @Nicola, congrats!*


A Book Cover

Knitted Book Cover

Just a quick post to let you all know that my Book Cover pattern is now available for free on molliemakes.com!

Mollie-Makes-knitting-pattern

You may have seen this book cover before – it was first published in Mollie Makes’ e-zine Gathered a couple of years ago. If, like me, you love pretty stationery, then this is the perfect project for you! Happy knitting :)

Finished ItemClick here for more patterns!

Save

My Knitted Bauble Cosies are the cover stars of Mollie Makes 46!

Well, it’s been really REALLY hard to keep this to myself. Back in August, the lovely Mollie Makes team asked me to create a tutorial for one of their Christmas issues. The brief: 4 gem-themed bauble cosies knitted using a variety of simple techniques and some sparkle! I have to say this was one of the most original and fun projects I have worked on. Now it also instantly became my favourite creation when I saw the cover of Mollie Makes a few days ago!!!!

Mollie-Makes-issue-46-cover

It’s time for you to give your plain baubles a glitzy Christmas makeover! Forget about double pointed needles, all you need to knit these cosies is a pair of straight needles, colourful yarn and a few sequins. I never used sequins before but they are so easy and fun to work with! Whether you’re a beginner or advanced knitter, enjoy good old Fair Isle or prefer intarsia, I hope you enjoy these patterns.

Finished Project 3

Mollie Makes issue 46 is out today (20th October) – it’s packed with amazing DIY projects as well as freebies (stickers yay!). I’d love to know which cosy is your favourite!